Showing posts with label Lighting. Show all posts

Wednesday, January 2, 2013

Dress Me Up - Final (Part 3)

Herro! It's been some time since I updated the progress of my lamp shades. Honestly, I didn't do much for the Victorian lamp shades that I sooo raved about. I lost a lot of steam after searching so long for the perfect lamp shade... You guessed it! I couldn't find any suppliers locally that sells the skeleton of my perfect lamp shade off the shelf. They are mostly custom-made and are super pricey!

So, I had to put this project off till I find a more reasonably priced lamp shade. I'm not prepared to pay SGD$80 per lamp shade just to tear them apart and put on a new fabric (yes, in retail shops, they only sell them fully done up in gaudy cheap lace which looks horrible).

So I'm just going to show you those that are completed. :)
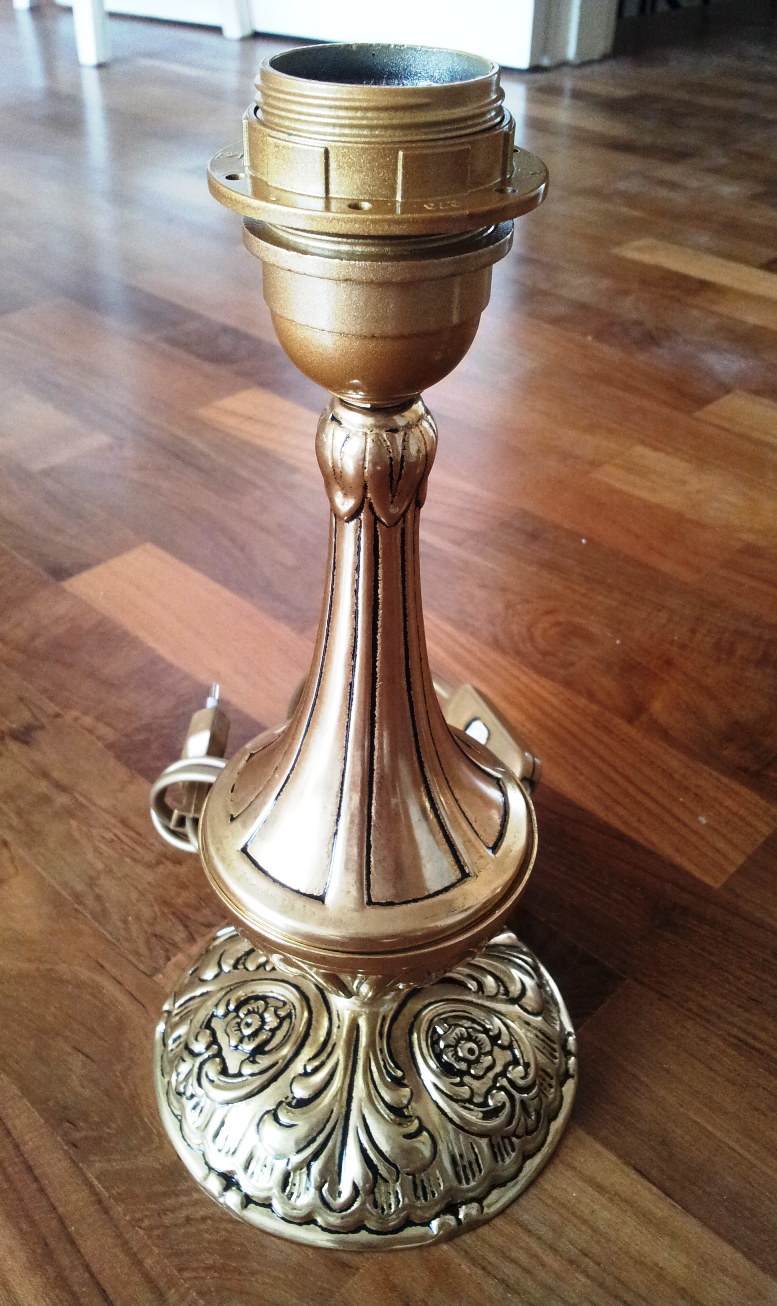
Remember this?


I bought some lace ribbons in champagne gold and black for the trimmings, and black lace fabric for the body of the lamp shade.


Sewing will be the ideal method to put on the fabric onto the shape. However, it was too much of a hassle. Mum did most of the work and we mostly used glue to stick on the fabric and lace onto the shade. Wala!


Next up... I bought 2 of these, again, mum did all the work. This DIY shade is even easier to make. We left the shade as it is since it was still in good condition. Added crystals on the base and stick on the gold lace.


Tada!


In my opinion, it's not the best nor did it give me a "WOW", BUT, for the price we paid, it's a good bargain! We kept it very safe this time since I was unsure how it will turn out. Perhaps we'll change the look of it in 2-3 years and give it a new look.

At the mean time, I'm pretty satisfied. :))


***********************************************************************

Tuesday, September 11, 2012

Dress Me Up (Part 2)

I'm back to continue the lamp shade. :) After measuring the base circumference of the lamp shade, I realized that 1 meter of organza is not enough. So my head seamstress had to halt this project till we buy enough fabric. *Sigh*

BUT, I've sewn on the crystals onto the shades (recap, I've bought 2 of these floor lamps). I'll show you the process. Just make sure to get working leather gloves, thick needles for upholstery purposes and a ball of strong thread.

Let's start.


I started off by laying out the pattern and colour assortment sequence per pane on the table. After, I measured and placed markings on the shade. For each pane, I had 7 (middle) + 1 + 1 (both ends of pane)
 Tie a knot and start on a new marking. (I'm continuing mine in this picture)
Slot in your crystal beads.
Pull it tight and snug to the frame.
 Make another round.
Secure with another stitch. The shade fabric has 2 layers, note when doing this, make sure that your thread goes in-between the layers to hide the thread. 
 Out on the next marking and repeat the process.
 On the underside, it looks like this. Clean looking with just the stitch.
The end result!

My hands were a little sore from pulling & pushing the needle onto the lamp shade. As this is 2nd hand, the hardened glue on the edges of the shade makes it even tougher. That's why I need the aid of the leather gloves. If not, the needle will go through my hands.

Ok, last step will be to put on the fabric. 

Stay tuned for part 3! 


Monday, September 10, 2012

Shady Affair (Part 1)

I've wanted to put this post up for some time but I was just too lazy to pull these out from my stash of chaos (junk) piled up in my cupboard. The paint work and lots of cleaning was just an excuse, but I finally did it!!

Tada!


I got these during my holiday trip to Spain in July this year. I was so inspired by this lady who did her own Victorian lamps for sale online, so I decided to attempt doing it for my room since my theme is French/Victorian. Hers are very detailed and ornate, hence, commanding a high price. I fell in love with it immediately. Because it is a lot of handy work, the lamp is an art piece on its own. Take a look:

Victorian lamps are all about the shades and the antique body.

In Singapore, such lamps are hard to find, even if you can find one, it may not be the one you like and it cost a lot. Else, it will be a replica where they use cheap materials to produce which I didn't like the effect too. Naturally, I was in a fix. Where to find all these materials? First things first, I had to find the lamp body. So since I was in Europe, might as well look for it. 


I was in Paris earlier and dropped by the Saint Ouen flea market. I read that they sell lots of old antique French furniture there. It was an eye opener, however, it was a disappointing trip. Don't be fooled by the word "Flea Market". It's pretty pricey! It'd be best you brought along a local who can show you around and speak the language, if not, I think the chances of being cheated is high.

I ended up not buying anything, not only it is expensive, I'm unsure if the item is genuinely antique or not.

Then, in one of the day trips in Segovia-Madrid, I found it! It wasn't that antique looking, but it is made of brass. The design is Victorian enough and it doesn't cost a fortune.

Phew!

Lamp DIY Check List:

  • Brass Body (bought!)
  • Victorian lamp shades
  • Beads
  • Fabric
  • Laces & Embroidery

Now on to the question, "Where to get Victorian lamp shades?" Well, I'm still looking out for these. I hope to get it in Singapore or Malaysia. Last choice will be from the internet (straight from lamp shade suppliers) because you usually have to buy a minimum quantity.

Basically, the rest of the items should be easy to get unless you want exotic laces/ fabrics and ready made embroidery patterns. 

*Sigh* I'll keep you posted when I find the treasure. X'O


Tuesday, August 21, 2012

Dress Me Up (Part 1)

Remember this?

 
I wanted to do a face lift for this. Bought a huge bag of crystal parts from Hock Siong & Co at dirt cheap prices and organza fabric. My mum's the master seamstress, so I did the ground work to piece the crystals together.


Yes, I even put them in sequence how it should hang from each pane.

Unfortunately, my head seamstress is pretty busy these days at work, so the operation has been halted till she feels like doing it. Well, the plan is to sew these crystals along the edge of the lamp shade and to cover the shades with a sewn organza outer piece with pleats.

I'll keep you posted once we start on it again!